Homemade Peanut Butter – The Ultimate DIY Guide to Creamy Perfection
Making your own peanut butter at home might sound like a stretch—until you try it. Once you do, there’s no going back. Homemade peanut butter isn’t just cheaper; it’s fresher, healthier, and way more flavorful than most store-bought versions. Whether you’re trying to cut additives, save money, or just love a good DIY kitchen project, this guide has you covered.
In this article, we’ll walk you through everything you need to know about making peanut butter at home—from picking the right peanuts and using the best food processor to troubleshooting texture issues and exploring exciting flavor variations. You’ll also learn how homemade compares nutritionally and financially to store-bought options, plus get practical ideas for how to use your fresh peanut butter in daily meals.
Don’t miss our guide to Healthy DIY Trail Mix, perfect for pairing with your peanut butter!
Why Homemade Peanut Butter is a Game-Changer
Benefits of Making Your Own Peanut Butter
When you make peanut butter at home, you control everything—no preservatives, no palm oil, and no mystery ingredients. Just real peanuts, processed into creamy goodness. Here’s why homemade is worth the hype:
- All-Natural Ingredients: You know exactly what goes into your spread.
- No Added Sugar or Oils: Unless you want them—then it’s your call.
- Freshness You Can Taste: Homemade peanut butter tastes brighter and nuttier.
- Customizable: Prefer it chunky? Add honey or cinnamon? Go ahead.
It’s also an excellent choice for those with dietary restrictions or sensitivities, as you can skip allergens, lower sodium, or avoid added sugars with ease.
What Makes It Better Than Store-Bought?
Let’s be honest—store peanut butter has its conveniences, but most brands are loaded with stabilizers, refined sugar, and oils that your body doesn’t need. Even some labeled “natural” contain more than just peanuts.
Here’s a quick comparison:
| Feature | Store-Bought Peanut Butter | Homemade Peanut Butter |
|---|---|---|
| Ingredients | Peanuts, sugar, oils | Just peanuts (and optional salt) |
| Shelf Life | 6–12 months (preservatives) | 2–3 weeks (fresh, refrigerated) |
| Texture Options | Pre-set | Fully customizable |
| Additives | Common | None |
| Taste | Often bland or oily | Rich and nutty |
| Cost (per 16 oz jar) | $4–7 | $2–3 (DIY) |
Looking for inspiration? Try it on Greek Yogurt Parfait for a protein-packed breakfast.
Ingredients & Equipment You’ll Need for Homemade Peanut Butter

Before diving into the how-to, you’ll want to gather the right ingredients and tools. Quality matters—a lot. The fewer ingredients you use, the more important it is that each one brings something to the table.
Choosing the Right Peanuts: Salted vs. Unsalted
The base of your peanut butter is, unsurprisingly, peanuts. But the kind you choose will drastically affect both flavor and texture.
Best Peanut Types for Peanut Butter:
| Peanut Type | Flavor Profile | Best Use Case |
|---|---|---|
| Dry Roasted (Unsalted) | Clean, neutral | Control over seasoning |
| Dry Roasted (Salted) | Savory and ready to go | No need for added salt |
| Raw Peanuts | Mild, earthy | Needs roasting first for best flavor |
Pro Tip: If using unsalted peanuts, add a pinch of sea salt during processing to boost flavor. Want more depth? Try lightly roasting the peanuts again at home for 8–10 minutes before blending.
Avoid these:
- Peanuts with added sugar or oils (they mess with texture)
- Boiled peanuts (too moist)
- Honey-roasted (unless making sweet butter)
Want to explore veggie pairings? Check out this Caprese Avocado Toast for a savory twist.
Must-Have Tools for Smooth Results (Food Processor Tips)
A good food processor is the MVP of this recipe. Don’t try this in a blender unless it’s a high-powered model like a Vitamix or Ninja.
Recommended Equipment:
- Medium-to-Large Food Processor (8+ cup capacity)
You’ll need power and space to break down peanuts smoothly without overheating the motor. - Silicone Spatula
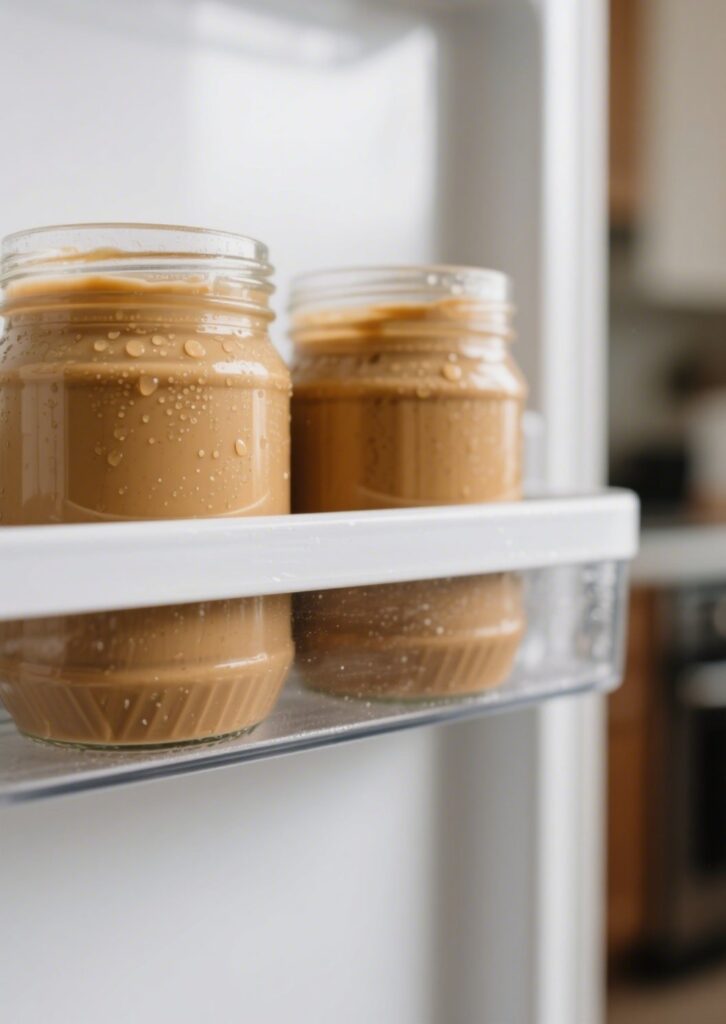
Helps scrape down the sides and prevent waste. - Glass Jars with Tight Lids
Perfect for storing your fresh peanut butter in the fridge.
Optional but Useful:
- Roasting Pan (if using raw peanuts)
- Digital Kitchen Scale (for exact measurements)
- Salt Grinder or Spice Mill (for seasoning)
Using the right tools ensures your peanut butter won’t turn out gritty or dry. And yes, you can get that creamy, store-bought texture at home—without the stabilizers.
Step-by-Step Instructions to Make Homemade Peanut Butter
The 8–10 Minute Creamy Peanut Butter Method
Making peanut butter at home sounds fancy, but it’s literally just peanuts and time. That said, technique matters. Here’s how to do it right.
You’ll Need:
- 3 cups of dry roasted peanuts (salted or unsalted)
- Sea salt, to taste (optional)
- Food processor
- Patience (seriously)
Step-by-Step Directions:
- Add Peanuts to Food Processor
Pour 3 cups of roasted peanuts into your food processor. No need to chop or prep them—just toss them in. - Start Processing
Turn the processor on. For the first minute, the peanuts will chop into a coarse meal. - Scrape Down the Sides
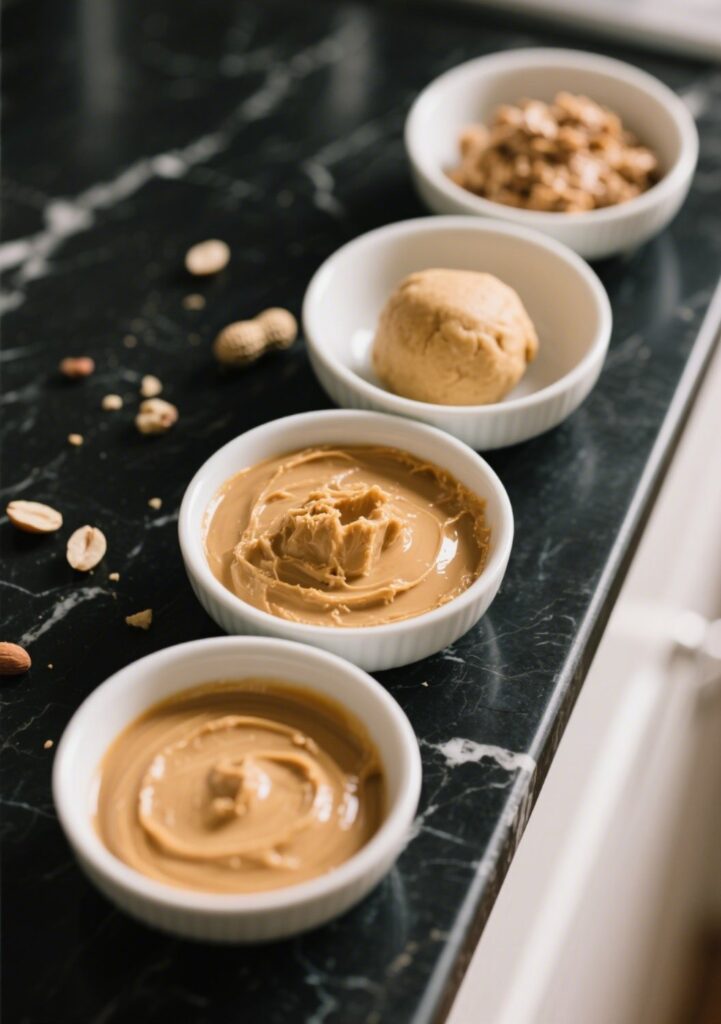
After 1–2 minutes, pause and scrape the sides. This helps redistribute the mix and prevents clumping. - Watch It Transform
Around minute 3–4, the mix will start forming a thick paste. This is normal—keep going. Don’t add water or oil. - Peanut Dough Ball Stage
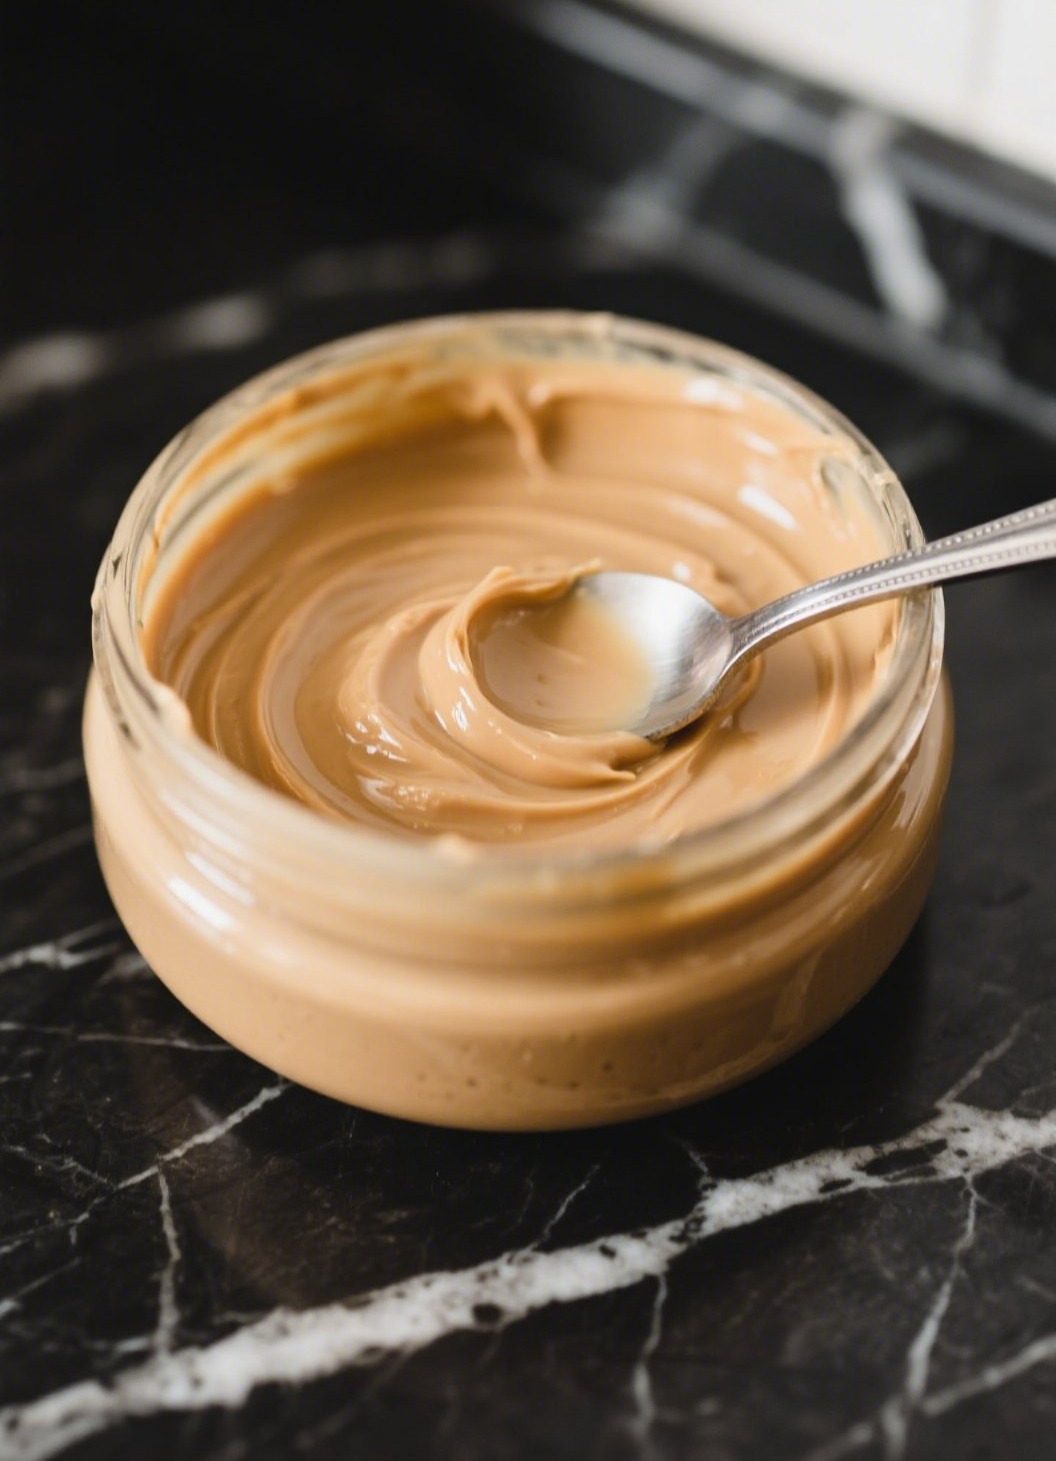
Between 5–6 minutes, the mixture may clump into a doughy ball. Let the machine run—it will break down again. - Creamy Finish (7–10 minutes)
Between 7 and 10 minutes, magic happens. The peanut butter turns glossy, loose, and creamy. This is your sign it’s ready. - Add Salt (Optional)
If you used unsalted peanuts, this is the time to taste and add sea salt. Start with ¼ tsp, pulse, taste, and adjust. - Cool Down & Store
Let the peanut butter cool slightly before transferring it into glass jars. Store in the refrigerator for up to 3 weeks.
| Time Stamp | Texture Status | What to Do |
|---|---|---|
| 0–1 min | Chunky/chopped | Scrape sides if needed |
| 2–4 min | Thick, heavy paste | Let the processor keep going |
| 5–6 min | Dough ball phase | Be patient |
| 7–10 min | Creamy and spreadable | Add salt if needed, store |
Troubleshooting Tips: Grainy Texture, Overheating, or Stalling
Here’s how to fix common peanut butter issues:
- Grainy Texture: Keep processing longer. It hasn’t broken down fully yet.
- Too Thick: Let the food processor run. Do not add water—use a touch of peanut oil if absolutely necessary.
- Processor Overheats: Pause every 1–2 minutes if your machine gets hot. This also protects motor life.
- Tastes Bland: Use roasted peanuts for flavor. Don’t be afraid of salt—it brings the taste forward.
If you’re into meal-prep friendly snacks, don’t miss our recipe for Zucchini Squash and Tomatoes for a savory pairing with peanut butter toast.
Storage, Shelf Life, and Preserving Freshness
Once you’ve crafted the perfect batch of homemade peanut butter, it’s time to store it right. Without preservatives or stabilizers, homemade peanut butter needs special attention to stay fresh, safe, and flavorful.
How Long Does Homemade Peanut Butter Last?
The shelf life of homemade peanut butter depends on two things: ingredients and storage method. Since this recipe contains only dry roasted peanuts (and maybe sea salt), it’s highly perishable compared to store-bought varieties.
| Storage Method | Shelf Life (Approx.) | Notes |
|---|---|---|
| Room Temperature | 1–2 weeks | Only if stored in an airtight jar, in a cool spot |
| Refrigerator | 3–4 weeks | Best for preserving freshness and taste |
| Freezer | Up to 3 months | Use freezer-safe jars; thaw before using |
Pro Tip: The oil in natural peanut butter will rise to the top over time. That’s not spoilage—it’s natural. Just stir it back in before each use.
Best Storage Containers and Techniques
Choosing the right container and method is the key to keeping your homemade peanut butter smooth, safe, and scoopable.
Recommended Containers:
- Glass Jars with Tight-Fitting Lids
Airtight and non-reactive—ideal for flavor retention. - Plastic BPA-Free Containers (Refrigerator-Only)
Lightweight and safe for fridge use, though not freezer-friendly. - Freezer-Safe Silicone Containers
Great for long-term storage and portion control.
Avoid metal containers—they can react with the oils and affect the flavor.
Storage Tips:
- Always use a clean, dry spoon to avoid introducing moisture or bacteria.
- Label jars with the date made and storage instructions.
- If separation occurs, don’t drain the oil—it keeps your peanut butter creamy.
Bonus Tip: To reduce stirring time, store the jar upside-down in the fridge. When flipped back over, the oils naturally redistribute.
If you’re storing multiple flavors (like sweetened or savory blends), consider color-coded labels or a chalk marker system.
For more meal-prep hacks, don’t miss our post on Healthy DIY Trail Mix, another pantry-friendly snack that complements your peanut butter creations.
Frequently Asked Questions About Homemade Peanut Butter
How do you make homemade peanut butter?
Making homemade peanut butter is incredibly simple and only takes about 10 minutes. All you need are dry roasted peanuts and a food processor. Add the peanuts to the processor, blend until smooth—scraping the sides down as needed—and add sea salt to taste. The process involves three texture stages: chunky, thick dough ball, and finally, creamy spread. For a complete walkthrough, see our step-by-step guide to making homemade peanut butter.
Is it cheaper to make your own peanut butter or buy it?
Yes, it’s typically cheaper to make your own peanut butter, especially when you buy peanuts in bulk. Store-bought jars average $4–$7 each, while homemade costs around $2.50 per 16 oz jar. Plus, you’re getting a fresher, more customizable product without added sugars or oils. Over time, making it at home can save you quite a bit, particularly if peanut butter is a pantry staple for your family.
Is it worth it to make peanut butter at home?
Absolutely. Homemade peanut butter isn’t just about saving money—it’s about quality, health, and taste. You skip the additives, control the salt and sugar, and enjoy a fresher flavor. If you love DIY kitchen projects or want to avoid processed foods, making peanut butter at home is totally worth the few extra minutes it takes.
Which peanuts are best for peanut butter?
The best peanuts for peanut butter are dry roasted peanuts. You can use either salted or unsalted depending on your taste preference. Salted peanuts deliver instant flavor, while unsalted give you more control over the final taste. Avoid raw peanuts unless you roast them yourself first—they don’t blend as smoothly and taste earthy. Stay away from honey-roasted or sugar-coated peanuts unless you’re intentionally going for a sweeter, flavored spread.
Why Homemade Peanut Butter Belongs in Your Kitchen
Homemade peanut butter isn’t just a trend—it’s a smart, healthy upgrade to your pantry staples. With just one ingredient and about 10 minutes, you get a spread that’s fresher, cleaner, and more delicious than most store-bought jars. You’ll save money, skip additives, and gain complete control over flavor and texture.
Whether you enjoy it on toast, in smoothies, with fruit, or straight from the spoon (no judgment), this simple DIY recipe opens the door to better snacking and creative cooking.
Don’t miss our guide to Greek Yogurt Parfait—a creamy, protein-packed partner for your homemade spread.
Print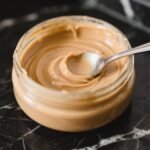
Homemade Peanut Butter – The Ultimate DIY Guide to Creamy Perfection
- Total Time: 10 minutes
- Yield: 2 cups (16 oz) 1x
- Diet: Vegan
Description
Homemade peanut butter made in 10 minutes! Save money, skip additives, and enjoy creamy perfection with this easy DIY recipe.
Ingredients
3 cups dry roasted peanuts (salted or unsalted)
Sea salt, to taste (only if using unsalted peanuts)
Instructions
-
Place peanuts into a medium food processor.
-
Process in 30-second to 1-minute intervals, stopping to scrape down the sides each time.
-
At first, the mix will be chunky. Then it will form a thick paste, and finally become creamy.
-
Continue processing for 8 to 10 minutes until the peanut butter is smooth.
-
Add sea salt to taste, if desired, and pulse to combine.
-
Transfer to clean glass jars and refrigerate for up to 3–4 weeks.
Notes
-
Want it sweeter? Add 1 tbsp maple syrup or honey after blending.
-
For crunch, stir in chopped peanuts at the end.
- Prep Time: 2 minutes
- Category: DIY
- Method: Vegan, Gluten-Free
- Cuisine: American
Nutrition
- Serving Size: 2 tablespoons (32g)
- Calories: 190
- Sugar: 1 g
- Sodium: ~30–50 mg
- Fat: 16 g
- Saturated Fat: 2.5 g
- Trans Fat: 0 g
- Carbohydrates: 6 g
- Fiber: 2 g
- Protein: 8 g
- Cholesterol: 0 mg
Keywords: Homemade Peanut Butter