10 Steps to the Perfect Red Velvet Cake Recipe You’ll Love

If you’ve ever taken a bite of a rich, velvety slice of cake with a stunning deep red hue and tangy cream cheese frosting, you already know the irresistible charm of a classic red velvet cake recipe. But did you know this Southern favorite has a complex history, cultural significance, and even links to celebrations like Juneteenth? In this post, we’ll uncover what really makes a cake a red velvet cake, how to perfect the recipe at home, and why this dessert holds a special place in many American hearts. Whether you’re baking from scratch or looking for a modern twist, this comprehensive guide has something for every red velvet lover.
Check out other homemade sweet treats like our Zesty Lemon Cake Recipe – Moist & Fluffy, perfect to explore after this!
Understanding the Flavor of Red Velvet Cake
The Unique Taste Profile of Red Velvet Cake
So what does red velvet cake actually taste like? If you’ve ever had a slice, you know it’s more than just a pretty red cake. The flavor is a subtle fusion of cocoa, vanilla, tang, and buttery richness, all layered with creamy frosting that gives it that final pop.

Unlike traditional chocolate cake, which is deeply rich and bold, red velvet cake has only a touch of cocoa. This allows the other ingredients—like the buttermilk, vinegar, and vanilla—to shine. The result is a lightly tangy, smooth, and luxurious cake with just enough sweetness to satisfy.
Here’s a breakdown of its signature flavor:
- Cocoa powder adds a mild chocolate note without overpowering.
- Buttermilk and vinegar bring a delicate tang and keep it moist.
- Vanilla extract offers warmth and rounds out the sharpness.
- Cream cheese frosting adds a bold, creamy tang that contrasts beautifully with the tender crumb.
If you’re looking for something with depth and balance, this cake is it. It’s a gentler cousin of chocolate cake, dressed in velvet.
Check out our Creamy Macaroni and Cheese to see how we layer flavor in savory recipes too!
Ingredients Needed for an Authentic Red Velvet Cake Recipe
Dry Ingredients Breakdown (Flour, Cocoa, Baking Soda, Salt)
Crafting the perfect homemade red velvet cake starts with the dry foundation. These pantry staples may seem basic, but each one plays a vital role in the cake’s signature soft and tender texture:
- 3 cups (360g) cake flour (spooned & leveled)
Cake flour is lighter and finer than all-purpose flour, giving red velvet its trademark moist, fluffy texture. It helps create that “velvety” crumb the cake is known for. - 1 teaspoon baking soda
Baking soda reacts with acidic ingredients like buttermilk and vinegar to give the cake lift and airiness. It’s essential for achieving a tall, soft, but structured bake. - 2 Tablespoons (10g) unsweetened natural cocoa powder
Just the right amount for a subtle chocolate note. This sets red velvet apart from a full-on chocolate cake, keeping the flavor balanced and elegant. - 1/2 teaspoon salt
Salt amplifies flavor across the board and provides contrast to the sweetness.
Check out our Mini Cheesy Veggie Bites Recipe to see how small ingredient tweaks can dramatically affect texture and taste.
Wet Ingredients Explained (Butter, Sugar, Oil, Eggs, Vinegar, Food Coloring, Buttermilk)
Red velvet’s dreamy texture and taste come from its precisely balanced wet ingredients. Here’s what each component does:
- 1/2 cup (8 Tbsp; 113g) unsalted butter, softened to room temperature
Provides richness and that buttery flavor we all love. Creaming it with sugar creates a smooth, fluffy batter base. - 2 cups (400g) granulated sugar
Essential for sweetness, it also helps the cake brown beautifully during baking. - 1 cup (240ml) canola or vegetable oil
Oil contributes serious moisture, making the cake silky and soft, even after chilling. - 4 large eggs, room temperature and separated
The yolks enrich the batter, while the whipped whites fold in air, ensuring a light and fluffy crumb. - 1 Tablespoon pure vanilla extract
Rounds out the cocoa and acid with soft, sweet aromatic notes. - 1 teaspoon distilled white vinegar
Enhances the red color (when used with natural cocoa) and activates the baking soda for proper leavening. - Liquid or gel red food coloring
This is what gives the cake its striking, dramatic look. Gel food coloring gives you a richer red with less liquid dilution. - 1 cup (240ml) buttermilk, at room temperature
The key to the cake’s signature tang. It also tenderizes the crumb and reacts with baking soda for a better rise.
Don’t miss our No-Bake Cheesecake – Fresh & Creamy for another rich, tangy dessert that balances creaminess and flavor just like red velvet cake.

Frosting Must-Haves: The Cream Cheese Finish
Of course, no authentic red velvet cake is complete without cream cheese frosting. Here’s a closer look at what you’ll need:
- 16 ounces (452g) full-fat brick cream cheese, softened to room temperature
For that tangy, luscious foundation—smooth, thick, and perfect for piping. - 3/4 cup (12 Tbsp; 170g) unsalted butter, softened to room temperature
Helps the frosting whip into a light, fluffy texture that’s still stable on warm days. - 5 cups (600g) confectioners’ sugar
Adds sweetness and structure. Be sure to sift it for smooth frosting. - 1 and 1/2 teaspoons pure vanilla extract
Balances the sharpness of the cream cheese with a warm, inviting aroma. - Pinch of salt, to taste
Keeps the sweetness in check and enhances depth of flavor.
This frosting isn’t just a topping—it’s the soul of the red velvet experience. Smooth, tangy, and sweet, it binds everything together in each bite.
Step-by-Step Guide to Making Red Velvet Cake at Home
If you’ve gathered your ingredients, it’s time to bring this iconic dessert to life. This step-by-step guide walks you through the exact process of baking a red velvet cake from scratch, using simple methods for guaranteed success—even if you’re not a pro baker.
1. Prepare the Cake Pans and Oven
Start by preheating your oven to 350°F (177°C). Grease two 9-inch round cake pans, line each with a parchment paper round, then lightly grease the parchment as well. This extra step ensures your cakes release cleanly and don’t crumble.
Pro tip: Don’t skip the parchment paper—it’s the secret to picture-perfect cake layers.
2. Mix the Dry Ingredients
In a large bowl, whisk together:
- 3 cups cake flour
- 1 teaspoon baking soda
- 2 tablespoons unsweetened natural cocoa powder
- 1/2 teaspoon salt
Set aside. This mix builds the structural foundation for your classic red velvet cake.
3. Cream the Butter and Sugar
In a stand mixer fitted with a paddle attachment, or using a handheld mixer, beat:
- 1/2 cup unsalted butter
- 2 cups granulated sugar
Mix on medium-high speed for about 1 minute until light and creamy. Scrape the sides and bottom of the bowl.
4. Add the Wet Ingredients (Except Egg Whites and Buttermilk)
Now add and beat in:
- 1 cup oil
- 4 egg yolks (reserve the whites!)
- 1 tablespoon vanilla extract
- 1 teaspoon distilled white vinegar
Beat on high speed for 2 minutes, pausing to scrape down the sides with a spatula as needed.
Looking for inspiration? Try our Orange Blossom Honey Madeleines—another delicate bake that rewards precision.
5. Combine Dry Ingredients and Buttermilk
Lower your mixer speed to low. Gradually add the dry ingredients in 2-3 additions, alternating with:
- 1 cup buttermilk
Mix until just combined, then add your desired amount of red food coloring (gel works best). Stir until fully incorporated but don’t overmix.
6. Whip Egg Whites and Fold In
In a separate clean bowl, vigorously whisk the 4 egg whites on high speed until soft, fluffy peaks form (about 3 minutes). Gently fold them into your batter using a spatula. The result should be a silky, slightly thick batter.
7. Bake the Cake Layers
Divide the batter evenly between the prepared pans. Bake for 30–32 minutes, or until:
- The tops spring back when touched
- A toothpick inserted in the center comes out clean
If the toothpick shows wet crumbs, bake a few minutes longer—but be careful not to overbake. Let the cakes cool fully in their pans on a wire rack before frosting.
8. Make the Cream Cheese Frosting
Using a clean mixing bowl and paddle or whisk attachment, beat together:
- 16 oz full-fat cream cheese
- 3/4 cup unsalted butter
Beat on medium-high speed for 2 minutes until creamy. Then add:
- 5 cups confectioners’ sugar
- 1 1/2 teaspoons vanilla extract
- A pinch of salt
Mix on low speed for 30 seconds, then increase to high for 3 minutes until fully combined and fluffy. Adjust sugar or salt to your taste for texture and sweetness.
9. Assemble and Frost the Cake
Once cakes are completely cool:
- Trim off domed tops with a serrated knife for flat, stackable layers.
- Place the first layer on your serving plate or cake stand. Spread frosting evenly across the top.
- Add the second layer and apply frosting to the top and sides.
- For clean lines and smooth edges, use a bench scraper and icing spatula.
- Decorate as desired. A simple border using Wilton tip #12 works beautifully.
10. Chill Before Slicing and Store Properly
Refrigerate the finished cake for 30–60 minutes before slicing. This sets the frosting and helps the cake hold its shape when cut.
- Store leftover cake covered in the fridge for up to 5 days
- Unfrosted layers or frosted cake can be frozen up to 2–3 months
- Thaw overnight in the fridge, then bring to room temp before serving
Don’t miss our Berry Trifle with Angel Food Cake if you’re craving another layered dessert that’s just as dreamy.
Classic Red Velvet Cake Frostings and Toppings
When it comes to the perfect red velvet cake recipe, one element makes or breaks it—the frosting. This cake’s rich, tangy, and buttery frosting isn’t just an accessory; it’s an essential component that ties everything together. Let’s explore the traditional choice and some creative topping options that elevate every slice.
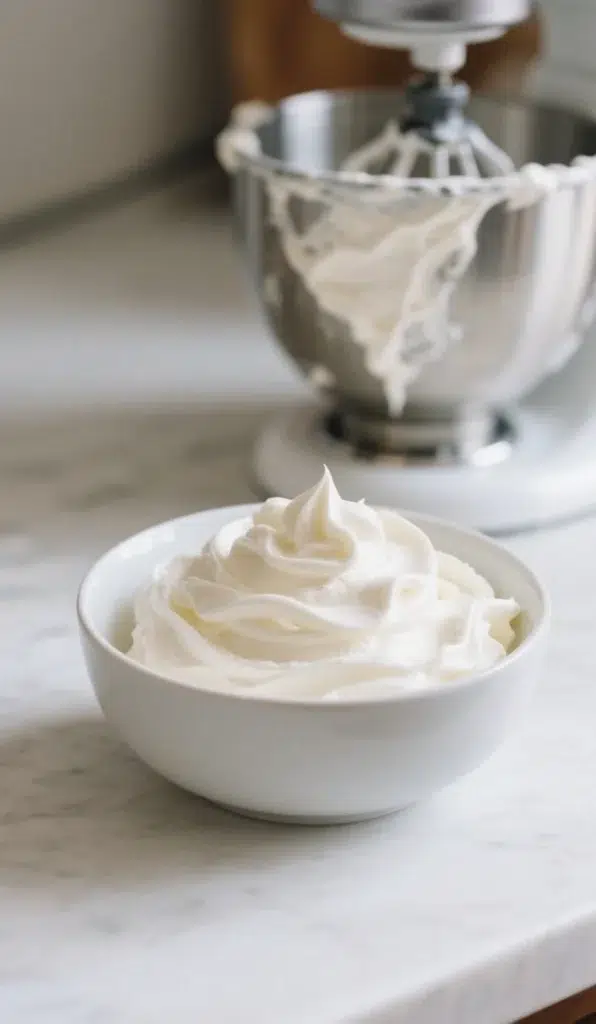
Cream Cheese Frosting: The Essential Red Velvet Pairing
No true red velvet cake recipe is complete without its signature cream cheese frosting. Its creamy texture and tangy profile contrast beautifully with the lightly cocoa-flavored cake layers. Here’s why this frosting works so well:
- Tang vs. Sweetness: Cream cheese brings a tart sharpness that cuts through the cake’s sweetness, creating a perfect flavor harmony.
- Thick and Spreadable: The blend of cream cheese and butter whips up into a frosting that’s luxuriously thick yet easy to spread.
- Stable for Layering: This frosting holds up well between layers and over the top of cakes, even for piping decorative finishes.
The classic frosting in our recipe includes:
- 16 ounces full-fat cream cheese
- 3/4 cup unsalted butter
- 5 cups confectioners’ sugar
- 1 1/2 teaspoons vanilla extract
- Pinch of salt
These simple ingredients produce a rich, luscious finish that defines this cake as truly Southern, traditional, and decadent.
Looking for something else with creaminess and richness? Try our Creamy Cajun Chicken Pasta—a savory dish that also celebrates bold, layered flavors.
Alternative Frostings and Topping Variations to Try
While cream cheese frosting is the gold standard, there are other options if you want to mix things up in your red velvet cake recipe:
Ermine Frosting (Boiled Milk Frosting)
An old-school, less sweet alternative. It’s made by cooking flour and milk, then whipping it with butter and sugar. The result? A silky, cloud-like frosting that’s subtly sweet.
Buttercream Swirl
Classic American buttercream (butter + powdered sugar) makes a sweeter topping, and can be flavored with vanilla, almond, or even cocoa for variety. Great for kids’ parties and bolder decorations.
Ganache Drizzle
For a more decadent approach, try a dark chocolate ganache drizzle over the cream cheese base. The richness pairs beautifully with the tangy frosting and vibrant red cake.
Toppings & Finishing Touches
- Red velvet crumbs from trimmed cake tops make a stunning garnish
- White chocolate curls add elegance and texture
- Fresh berries, especially raspberries or strawberries, contrast beautifully with the creaminess
- Crushed pecans or walnuts bring crunch and a rustic finish
Discover great ideas like our Easy Turkey and Cheese Roll-Ups for Kids to add variety to your family food rotation.
No matter how you choose to finish your red velvet cake recipe, make sure it reflects your style. Traditional, modern, or completely custom—this cake can handle it all.
Red Velvet Cake Recipe Variations
While a traditional layer cake is a timeless showstopper, there’s more than one way to enjoy a red velvet cake recipe. Whether you’re baking for a party, a casual get-together, or a dietary need, this cake adapts beautifully to many forms. Below, we explore creative twists and delicious alternatives that keep the iconic flavor but offer a fresh take.
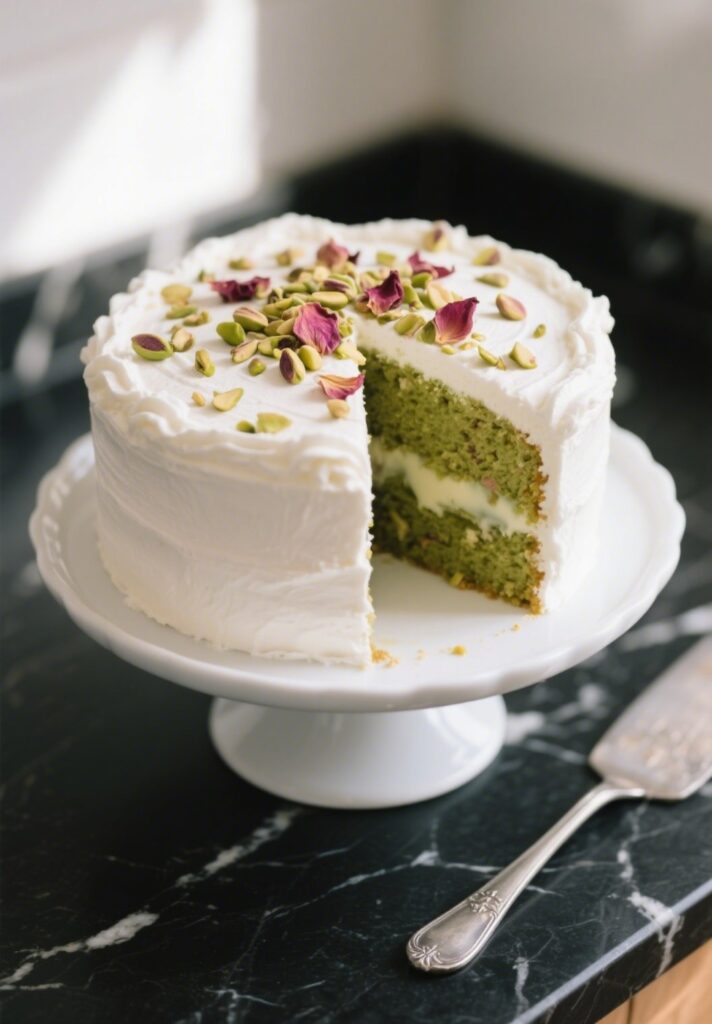
Mini Cakes and Whoopie Pies
If you want something more playful, these two ideas bring charm and whimsy:
- Mini red velvet cakes use cookie cutters or small springform pans to make personal-sized cakes layered with frosting.
- Red velvet whoopie pies are soft, cakey cookies sandwiched with a thick dollop of cream cheese filling. A kid favorite!
Learn more about using batters creatively in our Microwave Scrambled Egg Muffin post, where shape and size give classic dishes a new feel.
Vegan Red Velvet Cake Recipe
For plant-based eaters, a vegan red velvet cake recipe still delivers all the signature flavor and color, just without the eggs or dairy.
- Swap eggs with flax eggs or applesauce.
- Use plant-based butter and cream cheese alternatives.
- Buttermilk replacement: Mix almond milk with a splash of apple cider vinegar or lemon juice.
It may sound complicated, but this version can be just as moist and flavorful. It’s a win-win for those avoiding animal products or with dairy allergies.
Looking for more plant-based ideas? Don’t miss our Avocado Chickpea Salad Wraps for a healthy, protein-rich lunch.
Gluten-Free Red Velvet Cake Option
For those with gluten intolerance, try using a gluten-free all-purpose flour blend. Many of today’s blends are designed to work cup-for-cup in recipes. Just be sure to:
- Use xanthan gum if your blend doesn’t already contain it.
- Let the batter rest for 20 minutes before baking for better texture.
Gluten-free doesn’t have to mean flavorless, especially when you’re working with bold cakes like red velvet.
Red Velvet Cake and Juneteenth
While most people recognize red velvet cake for its vibrant color and rich flavor, its roots go deeper—especially within African American culture. The red velvet cake recipe has grown into more than a dessert. It’s a powerful symbol, particularly during Juneteenth celebrations.
What Red Velvet Cake Symbolizes for Juneteenth
Juneteenth marks the date—June 19, 1865—when enslaved people in Texas finally learned of their freedom, more than two years after the Emancipation Proclamation. It has become a national celebration of Black liberation, resilience, and community.
So what does red velvet cake have to do with Juneteenth?
The color red is central to many Juneteenth dishes. In African traditions, red symbolizes strength, life, and the bloodshed of enslaved ancestors. Over time, this symbolism carried into celebratory food, including hibiscus drinks, red punch, barbecue, and desserts.
Its bold red color, paired with a history of Southern roots, made it an ideal addition to Juneteenth tables. Rich in flavor and striking in appearance, red velvet cake became a delicious tribute to history and heritage.
Looking for more dishes that balance comfort and culture? Check out our Cozy Stew – A Hearty Family Dinner for another recipe that brings generations together.
Storing, Serving, and Pairing Red Velvet Cake
You’ve made the cake. You’ve nailed the frosting. Now it’s time to make sure your red velvet cake recipe stays fresh, looks gorgeous when served, and pairs well with drinks and sides that complement its signature flavor.
How to Store Red Velvet Cake for Freshness
To preserve that moist texture and creamy frosting, proper storage is key. Whether you’re prepping ahead or savoring leftovers, here’s how to do it right:
Short-Term Storage (up to 5 days):
- Store the fully frosted cake tightly covered in the refrigerator.
- Use a cake dome, airtight container, or wrap slices in plastic wrap.
- Let slices sit at room temperature for 15–20 minutes before serving to soften the frosting and crumb.
Long-Term Storage (freezing):
- Unfrosted cake layers can be frozen for up to 3 months. Wrap each layer tightly in plastic wrap, then foil.
- Frosted cake slices can be frozen individually. Chill them first until firm, then wrap securely.
- Thaw overnight in the fridge and bring to room temp before serving.
Pro tip: If storing layers before frosting, label with the bake date so you don’t lose track!
Serving Tips to Maximize Visual Appeal
A stunning cake deserves a proper presentation. Here’s how to make your red velvet cake recipe photo-ready for guests or social media:
- Use a serrated knife to slice cleanly through soft frosting and dense layers.
- For a dramatic presentation, garnish with red velvet crumbs, fresh berries, or white chocolate shavings.
- Serve each slice with a small scoop of vanilla ice cream or whipped cream to create contrast.
Hosting a party? Pre-slice and plate portions, then refrigerate until ready to serve. This saves time and ensures each guest gets a perfect piece.
Don’t miss our Greek Salad in a Mason Jar for a refreshing side option that pairs well with rich, sweet desserts.
Best Drink Pairings for Red Velvet Cake
Pairing matters—especially with a cake as bold and balanced as red velvet. Here are some perfect drink companions:
| Drink | Why It Works |
|---|---|
| Cold Brew Coffee | Enhances the subtle cocoa notes and balances sweetness |
| Saffron Rosewater Lemonade | its floral and citrusy notes beautifully balance the cake’s rich, cocoa flavor |
| Classic Milk | A nostalgic match that highlights cream cheese frosting |
| Vanilla Chai Tea | Spices complement the smooth, tangy cake flavor |
Whether you’re celebrating a milestone or just want to indulge, pairing the right drink makes your red velvet experience complete.
Looking for a fresh drink idea? Try our Tropical Breeze Pineapple Cucumber Mint Juice for a refreshing, citrusy option that contrasts beautifully with sweet desserts.
Frequently Asked Questions About Red Velvet Cake Recipe
What is the flavor of red velvet cake?
The flavor of a red velvet cake recipe is subtle yet complex. It’s a delicate balance of mild cocoa, vanilla, and tangy buttermilk, with a light sweetness that complements its signature cream cheese frosting. It’s not as rich as chocolate cake, but it delivers a smooth, buttery taste with just a hint of chocolate.
What makes a cake a red velvet cake?
What sets a red velvet cake apart is more than just its color. The combination of natural cocoa powder, buttermilk, vinegar, and baking soda creates a tender crumb and slightly tangy taste. The addition of red food coloring gives the cake its iconic red hue, but it’s the texture and flavor balance that make it truly ‘velvet.
Is a red velvet cake just a chocolate cake?
No. While it contains cocoa powder, a red velvet cake recipe is not simply a chocolate cake with red dye. Chocolate cakes typically have a stronger cocoa flavor, are denser, and use more chocolate. Red velvet is lighter, tangier, and focuses on a balance of acidity and sweetness, not just chocolate.
What does red velvet cake have to do with Juneteenth?
The color red holds symbolic meaning in Juneteenth celebrations, representing resilience, strength, and the blood shed by enslaved ancestors. Over time, red foods—like hibiscus drinks, watermelon, and red velvet cake—became traditional on this day. The red velvet cake’s vibrant color and cultural roots in the American South make it a popular Juneteenth dessert.
What is the official dessert of Juneteenth?
There isn’t a nationally declared ‘official’ dessert for Juneteenth, but red velvet cake, along with other red-colored sweets like red punch, strawberry pie, and red beans, are widely recognized and embraced during the celebration. These red foods are symbolic and central to honoring African American heritage.
What is the significance of red velvet cake?
Red velvet cake’s cultural and emotional significance goes beyond its ingredients. It represents Southern tradition, comfort, and a connection to African American history. Especially during Juneteenth, it becomes more than a dessert—it’s a symbol of liberation, remembrance, and unity.
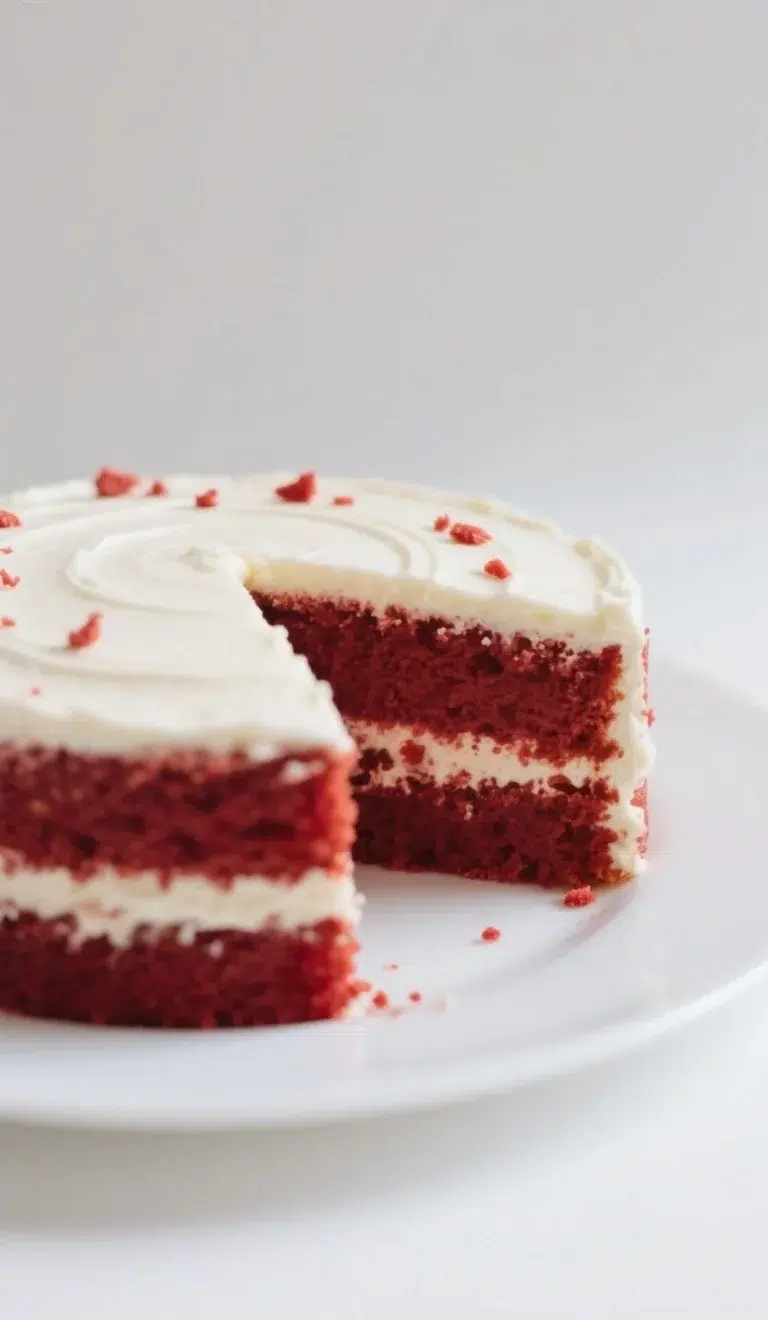
the Perfect Red Velvet Cake Recipe You’ll Love
This Red Velvet Cake is soft, moist, and beautifully vibrant with a hint of cocoa flavor. Topped with smooth cream cheese frosting, it’s the perfect treat for any special occasion!
- Total Time: 55 minutes
- Yield: 12 servings 1x
Ingredients
- 3 cups (360g) cake flour (spooned & leveled)
- 1 teaspoon baking soda
- 2 Tablespoons (10g) unsweetened natural cocoa powder
- 1/2 teaspoon salt
- 1/2 cup (8 Tbsp; 113g) unsalted butter, softened to room temperature
- 2 cups (400g) granulated sugar
- 1 cup (240ml) canola or vegetable oil
- 4 large eggs, room temperature and separated
- 1 Tablespoon pure vanilla extract
- 1 teaspoon distilled white vinegar
- liquid or gel red food coloring
- 1 cup (240ml) buttermilk, at room temperature
- Cream Cheese Frosting :
- 16 ounces (452g) full-fat brick cream cheese, softened to room temperature
- 3/4 cup (12 Tbsp; 170g) unsalted butter, softened to room temperature
- 5 cups (600g) confectioners’ sugar
- 1 and 1/2 teaspoons pure vanilla extract
- pinch of salt, to taste
Instructions
- Prep the pans: Preheat oven to 350°F (177°C). Grease and line two 9-inch cake pans with parchment paper.
- Mix dry ingredients: Whisk together flour, baking soda, cocoa powder, and salt. Set aside.
- Cream butter & sugar: Beat softened butter and sugar until combined. Add oil, egg yolks, vanilla, and vinegar. Beat for 2 minutes. Set egg whites aside.
- Combine wet & dry: Add dry ingredients in 2-3 parts, alternating with buttermilk. Add red food coloring and mix until just combined.
- Whip egg whites: Beat egg whites until fluffy peaks form. Gently fold into the batter.
- Bake the cakes: Divide batter between pans and bake for 30–32 minutes. Let cakes cool completely in pans on a wire rack.
- Make frosting: Beat cream cheese and butter until smooth. Add sugar, vanilla, and salt. Beat until creamy.
- Assemble cake: Level cake tops if needed. Frost the first layer, stack the second, and cover the entire cake with frosting. Add crumbs or piping as decoration.
- Chill before serving: Refrigerate the cake for 30–60 minutes to set.
Notes
Store leftovers in the fridge for up to 5 days, or freeze cake (frosted or unfrosted) for 2–3 months.
- Prep Time: 25 minutes
- Additional Time: 0 hours
- Cook Time: 30 minutes
- Category: Baking
- Cuisine: American
Nutrition
- Serving Size: 1
- Calories: ≈ 610
- Sugar: ≈ 58
- Sodium: ≈ 320
- Fat: ≈ 33
- Fiber: ≈ 1
- Protein: ≈ 6
- Cholesterol: ≈ 115